Sea Moss Soap: What is it and how do you make it?
If you’ve been curious about sea moss soap, you’re not alone! Thanks to social media this natural beauty product has been gaining popularity for many of its health benefits.
Sea moss soap is a wonderful option for those with sensitive and dry skin. It’s incredibly moisturizing, and when made at home you have the option to ditch the harsh chemicals and use all-natural ingredients that are often found in many commercial soap products.
In this post, we’ll outline what exactly sea moss soap is, the health benefits of this natural soap, and a couple of ways to make it at home yourself.
And don’t worry, if you’ve heard about how complex the soap-making process can be, there’s a recipe that includes using your favorite soap bars as a premade base!
What is Sea Moss Soap?
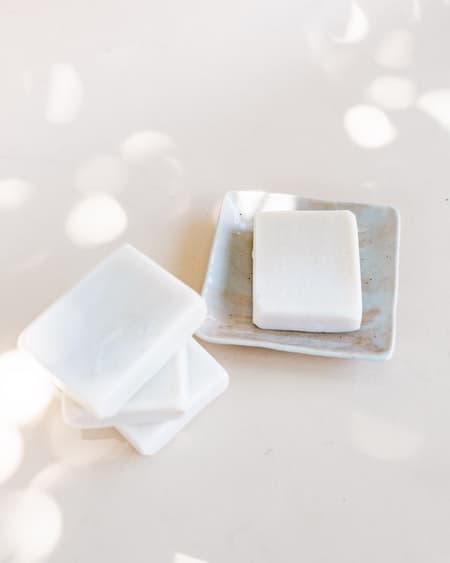
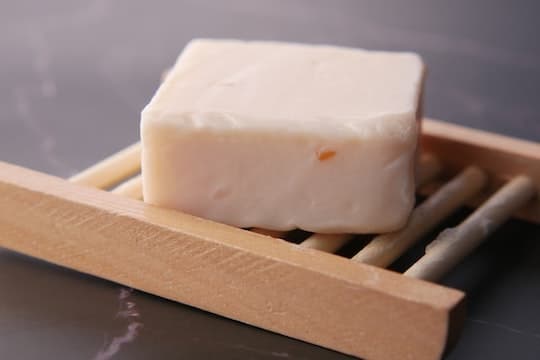
Sea moss soap is a popular type of natural soap that uses sea moss, or sea moss gel, as its main active ingredient.
Also known as Irish moss, sea moss is a type of seaweed that has been used for centuries in traditional medicine for various ailments.
Today, it is commonly used in cosmetics and skincare products because of the benefits it offers. Sea moss soap most often includes other inactive ingredients such as shea butter, coconut butter, glycerin, and essential oils to enhance the benefits of this bar soap.
Benefits of Sea Moss
What does sea moss soap do for your skin?
This natural and organic soap is a great choice for all skin types but is especially beneficial for individuals with sensitive skin or skin allergies. Sea moss soap is known for its many skin benefits including the following:
- Hydrating and nourishing the skin – the high mineral content and vitamins in sea moss help to keep the skin hydrated and nourished. Some of these vitamins include vitamin E, vitamin K, vitamin C, and vitamin A. In addition, sea moss soap is extremely moisturizing due to ingredients such as coconut oil and shea butter.
- Soothing skin irritation – sea moss soap is great for people with sensitive skin and may even help to soothe calm and irritated skin due to rashes and allergic reactions.
- Anti-inflammatory properties – the anti-inflammatory benefits in the sea moss, as well as the other soap ingredients, help to soothe skin conditions such as eczema and psoriasis. The antioxidants and anti-inflammatory benefits will also help to protect the skin from environmental stressors without drying it out.
- Antibacterial properties – sea moss contains antibacterial properties that can help to protect against infection as well as treat skin disorders such as acne that may be caused by bacteria.
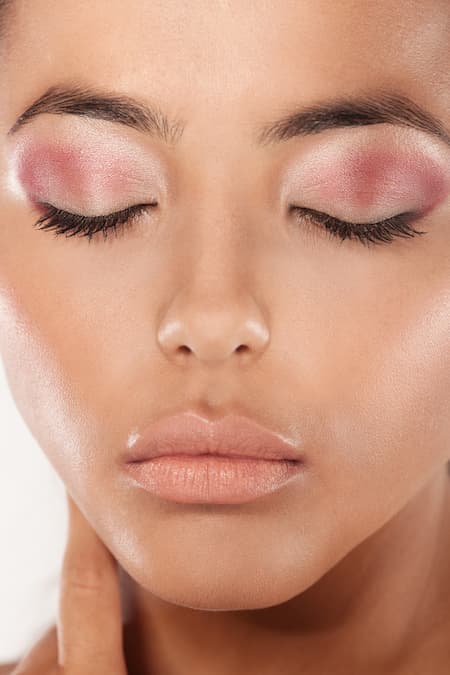
Supports healthy skin and collagen production – sea moss can help to boost collagen production in the skin thus helping to eliminate fine lines and smooth out wrinkles giving a youthful appearance.
Using sea moss soap can help to give your skin a healthy, natural glow! Sea moss has even been given the nickname of nature’s collagen because of these benefits.
Natural Sea Moss Soap Recipe
How To Make Handmade Sea Moss Soap
The soap-making process can be a bit intimidating as it involves the process of combining oils (or fats) with an alkali (otherwise known as sodium hydroxide or “lye”). This chemical reaction between the fat and alkali is called the saponification process and is necessary to turn the fats into soap!
Sodium hydroxide, however, is a powerful chemical, and safety precautions must be followed when working with it.
Below I’ll give you a recipe to make a from-scratch bar of handcrafted soap as well as a super easy way to make sea moss soap from your favorite bar of natural soap!
DIY Sea Moss Soap
Ingredients Needed:
- 8 oz. organic olive oil
- 6 oz. organic coconut oil
- 2 oz. organic shea butter (or cocoa butter)
- 4 oz. sea moss gel
- 4 oz. distilled water
- 3 oz. lye (sodium hydroxide)
- pure essential oils, optional
Instructions:
- Follow all safety precautions for working with lye, including wearing gloves and eye protection.
- In a well-ventilated area – preferably outside – measure out the distilled water in a heat-resistant container.
- Slowly add the lye to the water (NOT the other way around), stirring continuously until the lye has dissolved. Be extremely careful not to breathe in the fumes produced in this step.
- Set the lye solution aside to cool down to room temperature as the chemical reaction will cause the solution to heat during mixing.
- While the lye solution is cooling, measure out the coconut oil, olive oil, and shea butter in a separate heat-resistant container.
- Heat the oils gently until they are melted and combined.
- Add the sea moss gel to the melted oils and mix well. If desired, add 10-20 drops of your favorite essential oils as well.
- When the lye solution has cooled down to room temperature, very slowly add it to the melted oil and sea moss mixture, making sure to stir continuously.
- If needed, use a hand-held blender to blend the mixture until it reaches a trace. Trace is the stage where the mixture begins to thicken and resembles pudding.
- Pour the soap mixture into the soap molds.
- Cover the molds with plastic wrap for 24 hours.
- After 24 hours, remove the soap from the molds and cut them into bars.
- Allow the soap to cure for 1-2 weeks and up to a month before using.
- Store the soap bars in a cool, dry place for the best results.
Safety precautions: Do not touch the lye solution with bare skin. If you get lye on your skin, rinse it off immediately with cold water. Always work in a well-ventilated area when working with sodium hydroxide.

How To Make Sea Moss Soap Without Lye
If you’re intimidated by working with chemicals such as sodium hydroxide, I recommend skipping the soap-making process and simply using your favorite natural bar soap to make your own soap recipe.
Ingredients Needed
- 2 Natural Soap Bars
- 4 oz sea moss gel or Irish moss
- pure essential oils, optional
Instructions
- Chop or shred (using a cheese grater) the bar soap into small pieces.
- Place in a heat-resistant container and heat the soap either in the microwave for small intervals or over a double boiler until the soap is melted down.
- Remove the soap from the heat and stir in the sea moss and 10-15 drops of essential oils. Stir well.
- Pour the soap mixture into soap molds.
- Remove the soap from the mold after 24 hours and cut it into bars.
- Store your bar soap in a cool dry place to preserve its shelf life.
Conclusion
Overall, there are many sea moss benefits you won’t find in traditional soaps. This makes it easy to understand why skincare lovers have made sea moss soap their go-to bar.
Whichever process you use to make your own Sea Moss Soap, rest assured that you will be adding a highly beneficial skin care product into your lineup without the use of harsh chemicals or artificial ingredients!
Enjoy your improved skin tone and overall healthier skin thanks to your own DIY sea moss soap bar